You wrote a blog post. It took hours. Now it sits on your site, and almost nobody sees it.
Pinterest can help with that. But you do not need to write anything new. You already have the words, the ideas, and the steps. You just need to turn blog content into Pinterest content. This guide shows you how, one small step at a time.
The short answer: pick one finished blog post, pull 5 to 8 pin ideas from its headings, give each one a phrase people type into Pinterest search, design a tall 2:3 pin for each, link every pin to that exact post, and publish them a few at a time over several weeks. You reuse what you already wrote, so there is nothing new to write.
If Pinterest is brand new to you, start with my beginner guide to Pinterest for bloggers. Then come back here.
Why a blog post is good Pinterest material
Pinterest works like a search engine for ideas. People type a question, see pictures, and click the one that looks helpful. Your blog post is the answer they land on.
So every pin is a small door. It sits on Pinterest, and it opens onto your post. One post can have many doors, each with a different picture and a different headline. Each door can reach a different person.
Here is the honest part. Pinterest is slow. A pin can take months to get going, and some never do. I wrote about this in how long Pinterest traffic takes to grow. Do not expect traffic by Friday.
Before you make pins: set up two basics
1. Use a Pinterest business account
It is free. It gives you analytics, so you can see which pins get clicks. Without it, you are guessing.
2. Claim your website
Claiming connects your site to your Pinterest account. Pinterest says it gives you analytics for pins from your site, shows your profile picture next to those pins, and adds a mark next to your website link on your profile. You verify it with an HTML tag, an HTML file, or a DNS record. You have to do it from a computer, not a phone. The steps are on Pinterest’s own help page for claiming your website.
If the technical words scare you, that is normal. Most website hosts have a short guide for this. You only do it once.
Step 1: Pick the right blog post
Not every post is a good pin. Start with posts that answer a clear question or teach a clear skill. Think “how to”, checklists, lists, and step-by-step guides.
Look for posts that:
- solve one problem for a beginner
- have a clear title with a phrase people would search
- are already finished and up to date
- can be shown in a picture (steps, tips, a list)
A personal story with no clear lesson is harder to turn into a pin. Save it for later.
Also check the post itself. Does it load fast? Does it have a clear next step for the reader? A pin that leads to a messy page wastes the click you worked for.
Step 2: Find the pin ideas inside the post
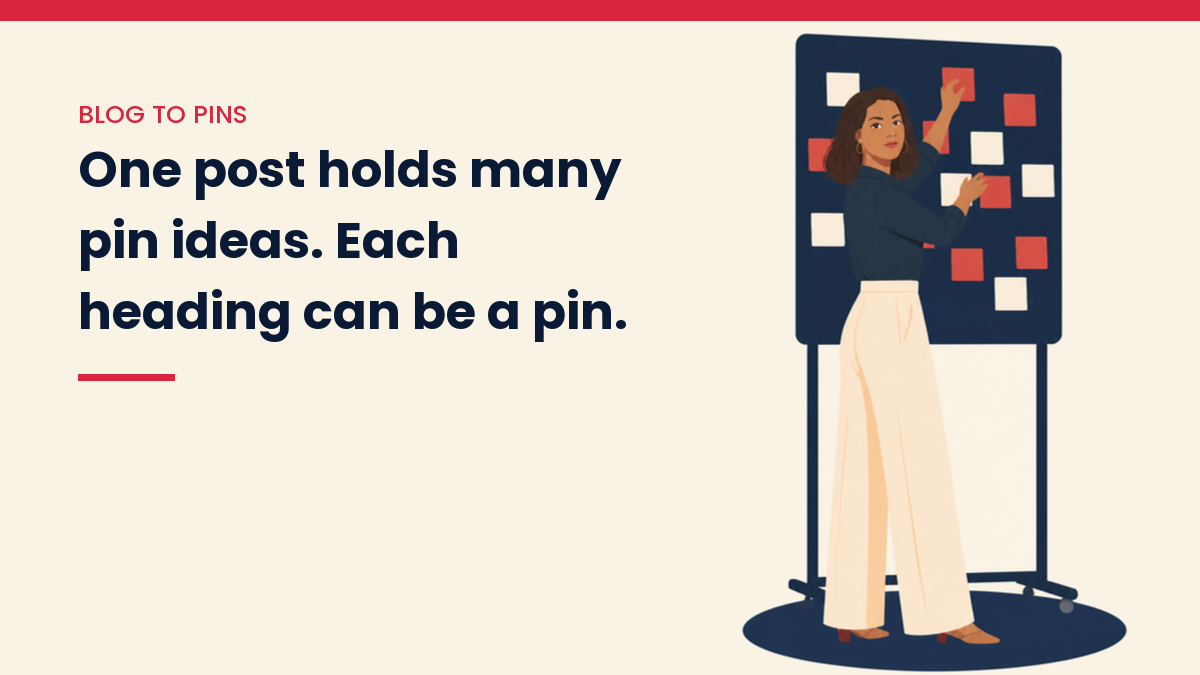
Read your post once. Look for pieces that can stand alone. Most posts hold more pin ideas than you think.
- The main promise. The title of your post, made short and clear.
- Each big step or heading. “Step 4: Design the pin” can be its own pin.
- A list. “5 mistakes to avoid” works well as one tall picture.
- A question your reader asks. Turn it into a headline.
- A tip or a number. One clear idea per pin.
A post with six headings can give you six or more pin ideas. Write each one down in a simple sheet. Put the post link beside it. That sheet is your pin plan.
Here is a tiny example. Say your post is “How to Write Blog Posts With AI”. Your pin plan might look like this: one pin for the whole post, one for the first step, one for a common mistake, and one for a tip about editing. Four pins, one post, no new writing.
This is the same method I use on this site. In September 2026 I gave VivaMomentum one channel outside search, Pinterest, with 1,010 pins made for 101 articles. That works out to about ten pins per article, and each pin points to the article it belongs to, not to the home page.
Step 3: Choose the words people search for
On Pinterest, words matter as much as pictures. Pinterest reads your pin title, description, and the text on your image to work out what it is about.
Here is a simple way to find words:
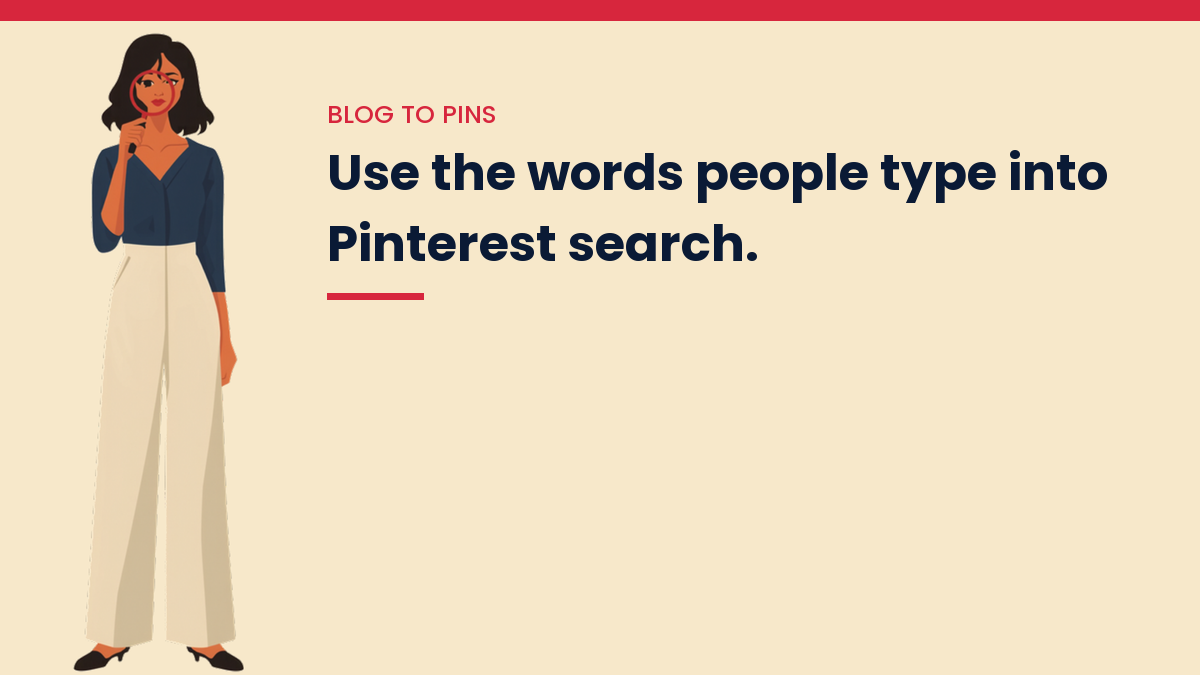
- Type your topic into the Pinterest search bar.
- Look at the phrases that pop up below it. People are typing those.
- Pick the phrase that matches your post.
- Use it in the pin title and the description, in plain language.
Do not stuff the same phrase in ten times. Write like you talk to a friend. If you want more help with finding phrases, my guide on choosing keywords for a new website works for Pinterest too.
Step 4: Design the pin
Pins are tall. The usual shape is 2:3, such as 1000 by 1500 pixels, according to Tailwind’s pin guide. Phones show them well, and that is where many people browse.
A good pin has:
- A short headline in big, clear letters. If it is hard to read on a phone, it is too small.
- A picture that fits the topic. Not a random pretty photo.
- Not too much text. One idea only.
- The same look every time. Same fonts and colors, so people know it is you.
You can use a free design tool such as Canva. A free plan is enough to start. Plans and limits change, so check the tool’s own page before you pay for anything.
One more thing. Make different designs for the same post. A step-list pin, a quote pin, and a simple headline pin can all point to one article. Pinterest likes new pins. It does not like the same image posted again and again.
Step 5: Write the pin title and description
Think of the title as the headline. Think of the description as a short promise.
Pin title
- Put the main phrase early.
- Make it clear what the reader will get.
- Skip big claims you cannot prove. Plain and honest works better.
Pin description
- Write two or three plain sentences.
- Say what the post helps with.
- Use your search phrase once or twice, naturally.
- End with a gentle nudge, such as “Read the full steps on the blog.”
Example. Post: “How to Write Blog Posts With AI”. Pin headline: “Write a Blog Post With AI in 7 Steps”. Pin description: “New to AI writing? Here is a simple plan you can follow, step by step, even if you have never used it before.”
Step 6: Add the link and pick a board
When you create the pin, you will see a field for the destination link. Paste the full link to the blog post, not your home page. Tailwind notes that you cannot change a live pin’s image or link later, so check both before you publish.
Then pick a board that fits the topic. Boards are like folders. A pin about blog traffic belongs on a board about blog traffic, not on a board about recipes.
Step 7: Publish a little at a time
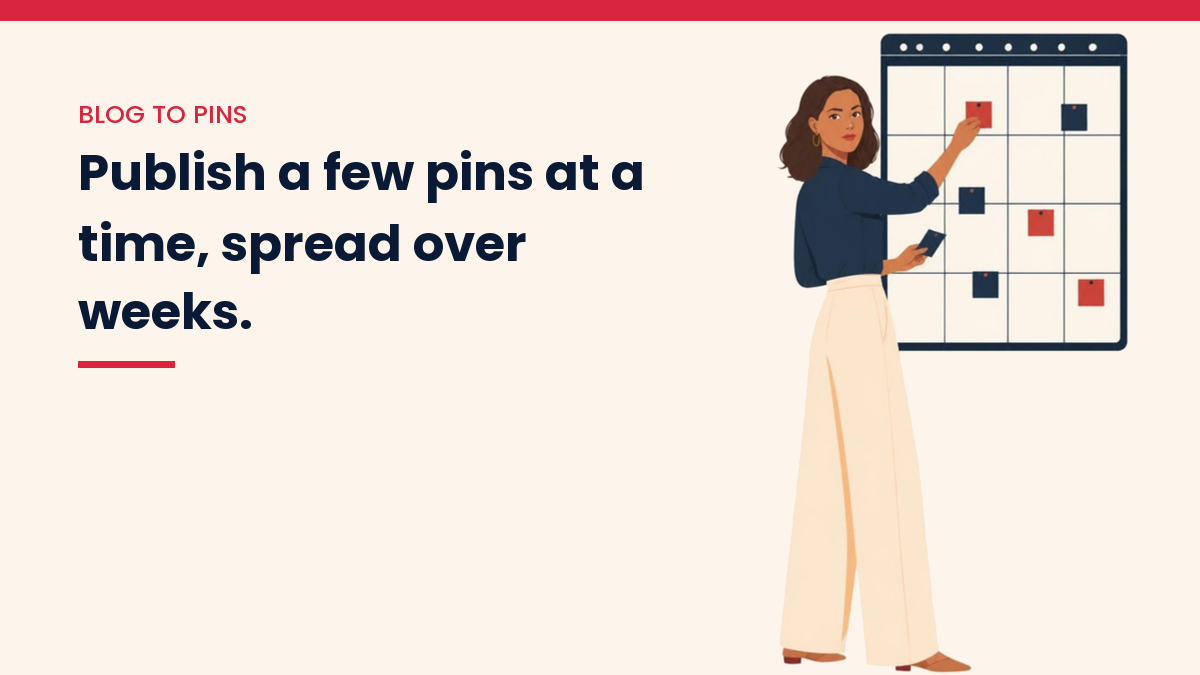
Do not post ten pins in one hour and then vanish. Spread them out over days and weeks. A steady pace is easier to keep, and Pinterest does not need you to do everything at once.
A simple rhythm to try:
- Day 1: publish the first pin for the post.
- A few days later: publish a second pin with a new design and headline.
- The next week: publish a third pin using a different heading from the post.
- Keep going until you run out of ideas for that post.
Then move to your next post. If you want to speed up the making part, batching your content can help.
Step 8: Check what happened, then adjust
After a few weeks, open your Pinterest analytics. Look at which pins got clicks to your site, not only views. Views are nice. Clicks bring readers.
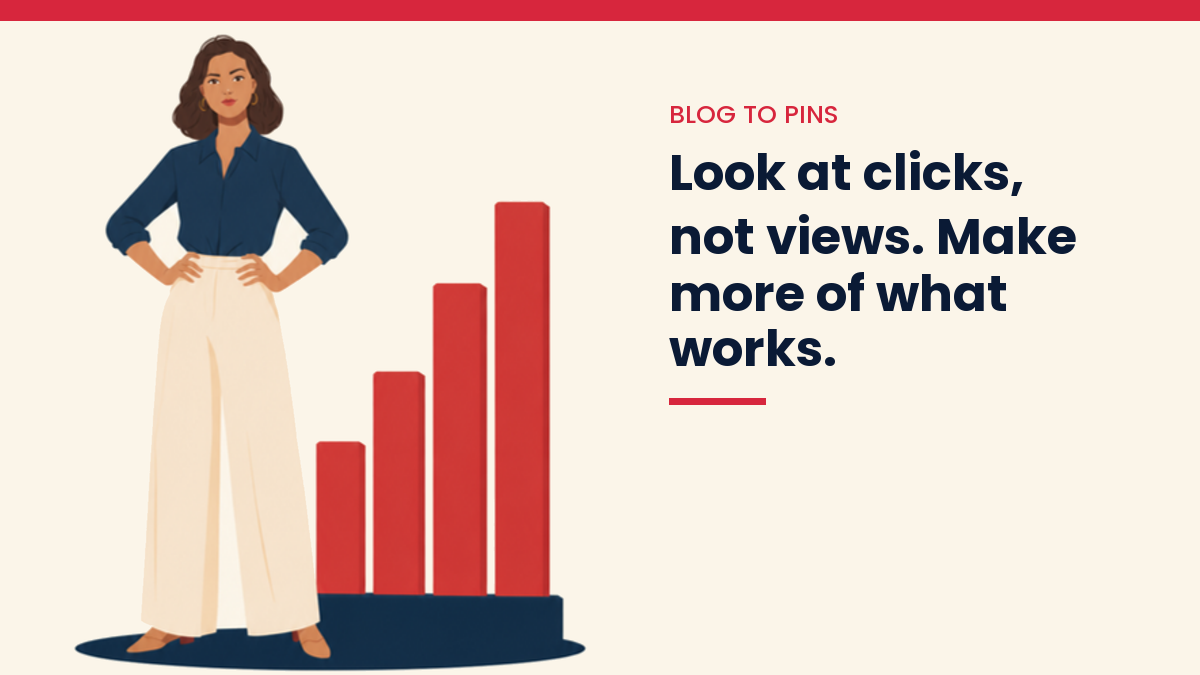
- If a pin gets clicks, make more pins like it for the same post.
- If a pin gets views but no clicks, try a clearer headline.
- If nothing gets seen, check that your search phrase matches what people type.
Be patient with this part. One pin is a tiny test. You learn from a handful of them, not one.
Common mistakes to avoid
- Posting one pin per article and stopping. You only test one idea.
- Pinning the same image over and over. Make fresh designs.
- Pins with too much text. Nobody reads a tiny paragraph on a phone.
- Sending people to your home page. Send them to the exact post.
- Pinning weak or out-of-date posts. A pin is only as good as the page behind it.
- Giving up after two weeks. Pinterest is slow for almost everyone.
A simple workflow you can copy
- Choose one finished blog post.
- Write down 5 to 8 pin ideas from its headings.
- Find one search phrase for each idea.
- Design the pins in one sitting, with the same colors and fonts.
- Write a title and description for each.
- Add the post link and choose a board.
- Publish a few now, and the rest over the next weeks.
- Check your analytics after a few weeks.
That is it. One post, many pins, one calm routine. If you want help with the writing side, my guide to writing blog posts with AI walks through it.
Questions people ask
How many pins can I make from one blog post?
There is no fixed number. Many posts give you several pin ideas, one for each main heading or tip. Start with a handful. Make more only if you have a real new angle.
Do I have to make new images for every pin?
Yes, if you want to give Pinterest something fresh. Change the picture, the headline, and the layout. It is fine for many pins to point to the same post.
Is this free?
Yes, you can do all of it for free. A Pinterest business account is free, and free design plans exist. Paid scheduling tools are optional. I am not an affiliate for Pinterest, and I make no money from this guide.
Will this bring traffic fast?
Probably not. Pinterest tends to build slowly. Treat it as a long game, and keep making useful pins.
Your next step
Pick one blog post today. Write down just three pin ideas from its headings. That is a real start. Tomorrow, design one pin. Small steps add up, and you are doing better than you think.
If you want a simple place to start, my free Starter Kit puts the first steps in one place.
Get the free VivaMomentum Starter Kit
You Might Also Like
- Pinterest for Bloggers: The Beginner’s Guide
- How Long Does Pinterest Traffic Take to Grow?
- How to Get Your First 1000 Website Visitors
- How to Batch Create Blog Content With AI
- How to Write Blog Posts With AI
- SEO for Beginners: The Complete Guide
- How to Choose Keywords for a New Website
Discover more from VivaMomentum
Subscribe to get the latest posts sent to your email.