You wrote one blog post. You are proud of it. Then you make one pin, share it, and wait.
Not much happens. That is normal. One pin gets one chance. But one post can give you many chances, and that is what this guide is about.
The short answer: pick one finished blog post, list the ideas inside it (the title, any steps, a mistake, a question, a myth), and turn each idea into its own tall 1000 by 1500 pin with its own words and its own title. Link all 10 pins to that same post, and publish them a few days apart over three to four weeks. Then make more of the pin types that get clicks.
Below is a simple way to turn one blog post into 10 different pins. You do not need to be a designer. You do not need to spend money. You just need one finished post and a bit of time. If you are brand new to Pinterest, start with my beginner guide to Pinterest for bloggers, then come back here.
Why Is One Pin Not Enough?
Because one pin reaches one kind of reader, once. Pinterest works like a search engine. People type words, and Pinterest shows pins that match. Every pin is a new way to be found.
Different people also respond to different things. One person clicks a bold headline. Another clicks a checklist. A third clicks a question that sounds like their own worry. If you only make one pin, you only reach one kind of person.
Pinterest also likes new images. It calls them fresh pins. A fresh pin is a new image or video, even when it points to an old post. Posting the exact same image again and again may not help. Posting a new design that links to the same post can. Pinterest’s own help pages and creator tips are the place to check the current rules, because they change.
One more honest note. More pins do not promise more traffic. Pinterest is slow at the start. I wrote about this in how long Pinterest traffic takes to grow. Think of 10 pins as 10 small tickets, not a guaranteed win.
Before You Start: Get the Basics Right
Do these four things first. They take about 20 minutes and make every pin work harder.
- Pick a post that is finished. Make sure it loads fast, reads well on a phone, and answers one clear question.
- Write down one main keyword. This is the phrase a person would type into Pinterest. For this post, mine is “pinterest pins from blog post.” Not sure how to choose one? Try my guide to choosing keywords for a new website.
- Use the tall size. Pinterest pins are usually made at 1000 by 1500 pixels. That is a 2:3 shape, taller than it is wide. Tall pins take up more room in the feed.
- Check your Pinterest account. Use a business account and claim your website. Both are free, and Pinterest explains how in its help pages.
Step 1: Pull Out the Ideas in Your Post
Open your post. Take a notepad. Write down every part that could stand on its own:
- The title and the main promise.
- Any list, number, or set of steps.
- Any fact or short quote that surprised you.
- Any mistake you warn people about.
- Any question a reader might ask.
You should end up with 10 to 15 small ideas. Each one can become a pin. You are not writing anything new. You are cutting your own post into pieces.
Step 2: The 10 Pins
Here is a simple set. Each pin uses the same post but shows a different angle. Give each one its own image and its own words.
Pin 1: The Headline Pin
Use your post title, in big and clear letters. This is your anchor pin. Keep the words short enough to read on a small phone screen.
Pin 2: The Number Pin
Turn your post into a number. For example, “5 steps to start Pinterest” or “7 mistakes new bloggers make.” Numbers tell people what they will get.
Pin 3: The Question Pin
Ask the question your reader has. “Why is nobody clicking my pins?” If the question sounds like the reader’s own thought, they stop scrolling.
Pin 4: The Problem Pin
Name the pain first. “Posting every day and getting no clicks?” Then hint that your post has the fix. Keep it kind. Nobody likes to feel judged.
Pin 5: The Quote or Fact Pin
Pick one useful sentence from your post. Put it on the image. A small tip that people can use right away works well here.
Pin 6: The Checklist Pin
Write three to five short steps on the image. Readers love to save checklists to come back to later.
Pin 7: The Mistake Pin
“Stop doing this on Pinterest.” Then name one mistake from your post. People pay attention to what they might be doing wrong.
Pin 8: The Beginner Pin
Speak straight to new people. “New to Pinterest? Start here.” This helps readers who feel lost see that the post is for them.
Pin 9: The Myth Pin
Pick one thing people wrongly believe. “You do not need a big following to start.” Then say your post explains why.
Pin 10: The Result Pin
Sum up what the reader will be able to do after reading. “By the end, you will have a pin plan.” Keep the promise small and true.
Step 3: Make the Pins Look Like They Belong Together
You do not want 10 pins that look like 10 different websites. Pick two fonts, two or three colours, and one simple layout. Then change the words and the picture for each pin.
You can use any design tool you like. Many free ones have Pinterest-sized templates. Make one pin, save it as a template, then change the text 9 times. That saves a lot of time.
Keep the words big. Most people see pins on a phone. If you have to squint, the words are too small.
Step 4: Write a Different Title and Description for Each Pin
This part matters as much as the image. Pinterest reads the title and the description to decide when to show your pin.
- Put your main keyword in the title or description of every pin.
- Change the other words each time. Do not copy and paste the same text 10 times.
- Write in plain sentences, like you are telling a friend what the pin is about.
- Keep the description short. Two or three sentences is enough.
For example, pin 3 could say “Why are my pins not getting clicks? Here is a simple fix for pinterest pins from a blog post.” Pin 6 could say “A short checklist for making pinterest pins from your blog post.”
If you want more on this, my guide on updating old blog posts for more traffic shows how small word changes can help.
Step 5: Link Every Pin to the Same Post
All 10 pins should send people to the same blog post. That is the whole point. You are giving people 10 different doors into one room.
Check the link before you save each pin. Pinterest may not let you change the link after you publish, so a wrong link means starting over. Test it once on your phone.
Step 6: Spread the Pins Out
Do not post all 10 on one day. That can look like spam, and it uses up your chances too fast.
A simple plan: post one pin every few days over three to four weeks. Save the first pin to your most fitting board. Later pins can go to other boards where the topic also makes sense. Pick boards by topic, not by guessing.
Here is a real example from my own work. On my crafts sites, a scheduler once sent 35 of 40 new pins to one single board. I changed the rule so that no board gets more than 5 pins from one run, spread across 15 boards. The lesson for you is the same at any size: if every pin lands on one board, the other boards that fit your topic never get a chance to show it.
Write the plan in a small table or a notebook. Mark the date, the pin, and the board. You can also use a scheduler. Pinterest has a free built-in one, and some paid tools exist too. Start with the free one until you know you need more.
Step 7: Check What Works, Then Make More
After a few weeks, open your Pinterest analytics. Look at which pins got the most saves and clicks. Be patient, because small accounts have small numbers at first.
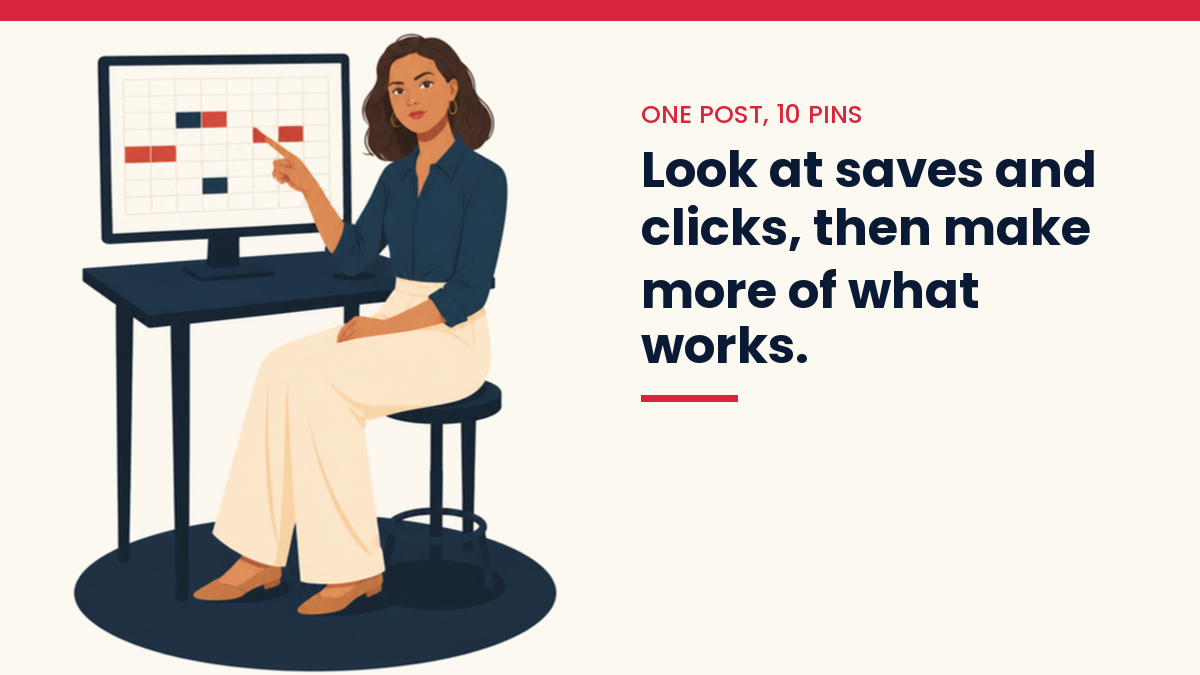
If the question pin does well, make two more question pins. If the checklist does well, do more checklists. Your own numbers will teach you more than any rule.
This is also a good time to check your blog stats. Are people from Pinterest staying on the page? If not, the post may need work. My guide on getting traffic to a new website can help you look at the bigger picture.
Common Mistakes to Avoid
- Posting the same image over and over. Make new designs instead.
- Hiding the point. If a stranger cannot tell what the pin is about in two seconds, change it.
- Tiny text. Make it bigger.
- Making pins for a weak post. A pin cannot fix a post that does not help anyone.
- Giving up after a week. Pinterest is slow. Give it a few months before you judge it.
A Quick Way to Do This With AI
AI can help with the words. You can paste your post into an AI tool and ask for 10 pin titles and 10 short descriptions, each from a different angle. Then read every line and change it so it sounds like you.
Do not post AI text without reading it. It can be bland, or wrong. I wrote more about fixing this in how to humanize AI-generated content. And if you like batching your work, batch creating content with AI shows a calm way to plan it.
Your 30-Minute Starter Plan
- Pick one finished blog post.
- Write down its main keyword.
- List 10 ideas from the post.
- Make one pin template at 1000 by 1500 pixels.
- Make 10 pins by changing the words and picture.
- Write 10 different titles and descriptions.
- Link every pin to the post and check the link.
- Schedule one pin every few days.
You may not finish all of this in 30 minutes your first time. That is fine. The second post will go much faster.
Final Thoughts
One blog post can do much more than one pin lets it. Ten pins give you ten ways to be found, and ten ways to connect with a reader who is looking for exactly what you wrote.
Start small. Pick one post this week. Make the pins, spread them out, and watch what happens. You are not behind. You are just getting started.
Questions people ask
How many pins should I make from one blog post?
Ten is a workable number to start with, not a rule. Some posts only hold five good angles. Make as many pins as you have real ideas for, and stop there.
Can I use the same picture with different words?
Pinterest counts a pin as fresh when the image is new, so change the picture or the layout, not only the text. Check Pinterest’s own help pages for the current wording, because it changes.
Do all 10 pins go on the same board?
No. Save the first pin to the board that fits the post most closely, then save later pins to other boards where the topic also makes sense.
How long until I know which pin works?
Give it at least a few weeks. New accounts show small numbers early on, and that is normal. My post on how long Pinterest traffic takes to grow explains what to expect.
Get the free VivaMomentum Starter Kit
You Might Also Like
- How to Turn Blog Content Into Pinterest Content
- Pinterest for Bloggers: The Beginner’s Guide
- How Long Does Pinterest Traffic Take to Grow?
- How to Get Traffic to a New Website
- How to Choose Keywords for a New Website
- How to Update Old Blog Posts for More Traffic
- How to Batch Create Blog Content With AI
- How to Humanize AI-Generated Content
Discover more from VivaMomentum
Subscribe to get the latest posts sent to your email.